Close

Portraits Speak to Us!
Lesson Plan, Grades 7-12, Art History, Language Arts, Math, Science, Social Studies, Sharpie, Drawing, Mixed Media, Multi-Cultural
Description
Lesson Plan and Artwork by Phyllis M Annett
Using Sharpie Fine Point Portrait Markers and Prismacolor Watercolor Pencils in a mixed media approach, students will study Portraits and their place in history. They will recognize Portraits as a form of communication and story telling that can depict mood, emotion and even stature in life.
Objectives
- Recognize the importance of Portraiture in Art as a type of storytelling utilizing language arts.
- Study the structure and proportions of the human face and incorporate in their drawing.
- Utilize a mixed media approach to the project.
- Apply the Elements and Principles of Art & Design to this Portrait Lesson.
Supplies Needed
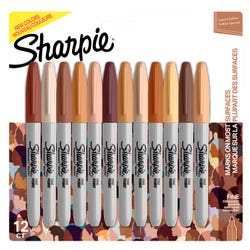
Sharpie® Permanent Markers, Portrait Colors, Fine Point, Assorted, Pack of 12
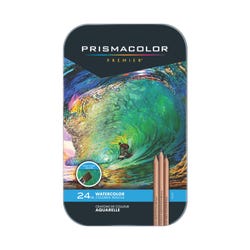
Prismacolor® Premier® Water Soluble Watercolor Pencil Set, Assorted Color, Set of 24
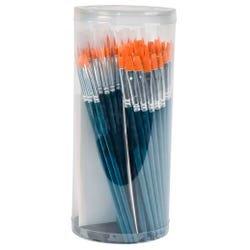
Sax® True Flow® Golden Synthetic Taklon Paint Brushes, Assorted Sizes, Set of 108
Fabriano® Studio Watercolor Hot Press Pad, 11 x 14 Inches, 140 lb, 12 sheets
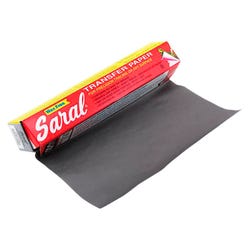
Saral® Wax-Free Transfer Paper, 121/2 in x 12 ft, Graphite
Sax® Tracing Paper, 18 lb, 500 Sheets
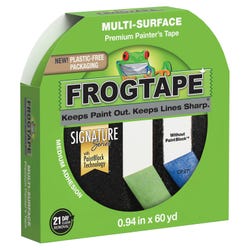
Frog Tape® Multi Surface Painter’s Tape .94 x 36 Inches
Standards
Standard #2: Organize and develop artistic ideas and work.
Standard #3: Define and complete artistic work.
Standard #9: Apply criteria to evaluate artistic work.
Standard #10: Synthesize and relate knowledge and personal experiences to make art.
Standard #11: Relate artistic ideas and works with societal, cultural and historical context to deepen understanding.
Instructions
1
Give students a clear explanation of how they will create a human portrait which has clues that evoke mood, emotion or even stature in life. Let the class know that they will research and find clues as to what the subject is all about. Students will realize that portraits are a record of history. Students will research portraits from history and present day. Museum sites offer virtual tours where you can find portraits for the students to see what artists have done throughout history. Some famous portrait artists are da Vinci, Van Gogh, Michelangelo, Rembrandt, Cezanne, Picasso and Sargent.
2
The National Portrait Gallery in Washington, D.C. houses many portraits including presidential portraits. Students will learn to decipher subtle clues left by the artist to tell us about their place in life and mood and emotion.
3
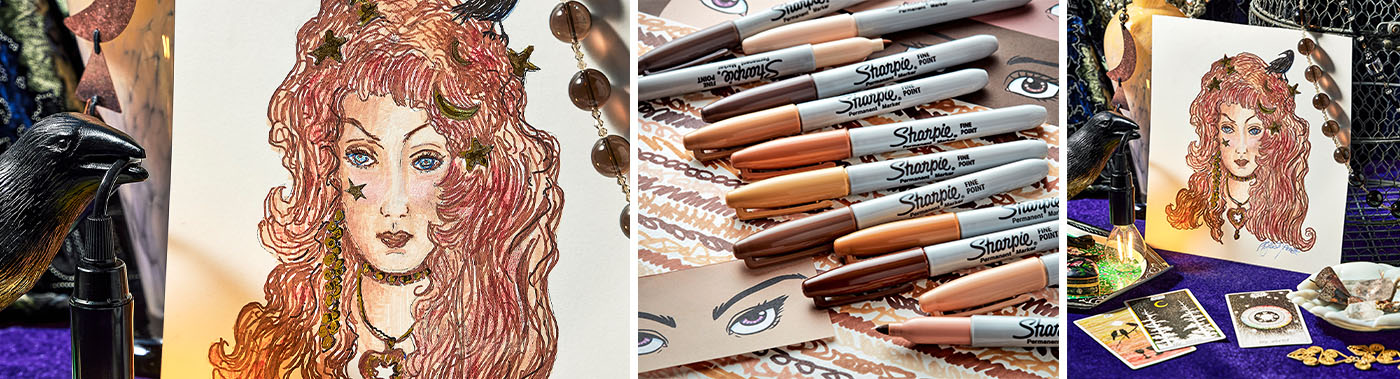
Inform students that they will be using Sharpie Fine Point Portrait Markers that have an assorted skin tone range. The markers are best on hot press paper because it is smooth, and the ink won’t sink into the paper yielding more than needed coverage. Have students experiment with these markers first on white drawing paper. Use light pressure on the marker to get the best results. The markers point will be good for linear work and the side for large area coverage.
4
Also, let students know that they will also be using Prismacolor Watercolor Pencils. With a wet brush, they will yield brilliant color to any area. Use them dry to get subtle color for the portraits. Hot press watercolor paper was chosen for this project because it allows the artist to lay down smooth color with markers.
5
Distribute the markers, white sketch paper and drawing pencils to have students create a good line drawing of either themselves or of a classmate or an imaginary person. Have students draw along with you for instruction on the features, proportions and plains of the face. Point out that the eyes are in the middle of the head. The normal space between eyes is another eye length. Ears are essentially from the eyes down to the end of the nose. The end of your mouth is just about in line with the center of your eyes. Students can experiment and create different expressions and moods for their subjects. Hair is an opportunity to get movement and energy into your Portraits.
6
Students will perfect their drawings and transfer them to the hot press watercolor paper using transfer paper. The hot press paper has a very smooth finish and is perfect for markers. They lay down a very smooth line. The side of the markers are good for shading.
7
Inform students that they should use a very light touch with the Sharpie Fine Point Portrait markers. Have them block out their lights and darks on the portrait drawings and shade very lightly. It is helpful to make a chart of the markers’ colors and number the barrel of the markers from light to dark, so you don’t have to test them each time you need a different marker. Put lights and darks into the portrait. Build color by using a very light touch to the paper. Color the areas of the face according to the shadows you see from your sketch. Look for the blues and greens in the skin tones too. Build color with the markers.
8
Inform students that they can use the Prismacolor Watercolor Pencils for the portraits in a dry or wet state. Create a color swatch with them wet and another for using them in a dry state for soft bendable color effects on the face. The Sharpie Portrait Markers make darker shades. Remember to apply them with a very light touch. Experiment with both the Sharpie Portrait Markers and the Prismacolor Watercolor Pencils to be able to get the results you desire for the portrait.
9
After completion of the work, have students decipher clues as to what the portraits ‘say‘ to us. Display work and have students evaluate their own work and that of others.