Close

Hand-Built Drinking Cup
Lesson Plan, Grades 3-9, Art History, Social Studies, Mayco, Ceramics & Sculptures, Multi-Cultural
Description
Lesson Plan and Artwork by Eric Orr
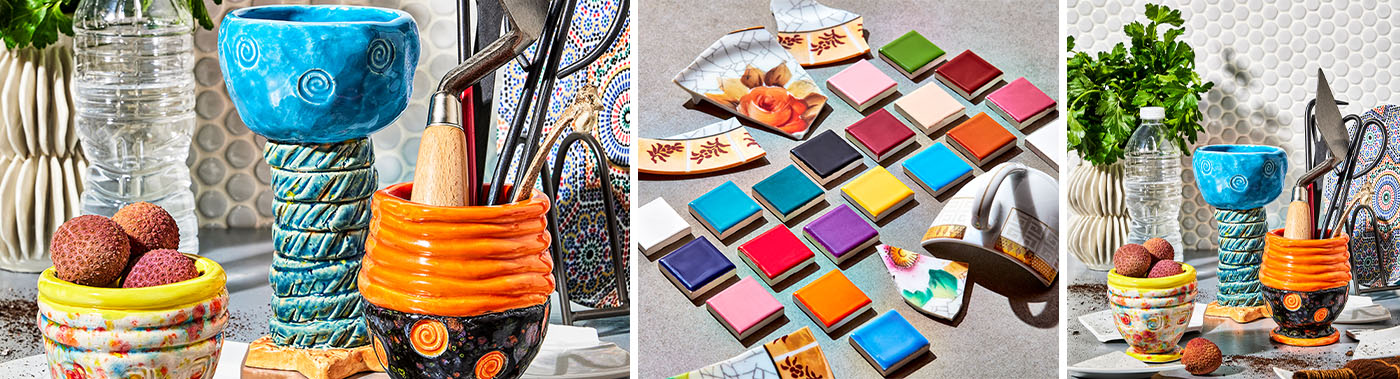
This lesson utilizes three hand-built clay forming techniques, slab, pinch, and coil, in the construction of a ceramic drinking vessel. The slab, pinch, and coil methods of construction date back almost 20,000 years with pottery shards recently found in caves in the south of China. Early man’s creation and use of functional ceramic wares correlates with his move from being primarily a hunter/gatherer, to staying in one place as a farmer.
Objectives
- Combine three hand building techniques in order to create a personal drinking cup.
- Craft a vessel that does not leak, is comfortable in the hand, and has a textured and/or colorful glaze.
Supplies Needed
Mayco® Foundations™ Glaze, Orange
Mayco® Foundations™ Glaze, Bright Blue
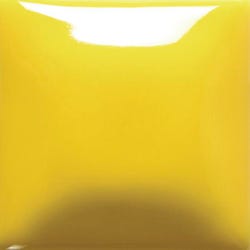
Mayco® Foundations™ Glaze, Yellow
Mayco® Jungle Gems™ Glaze, Fruity Freckles
Mayco® Jungle Gems™ Glaze, Floral Fantasy
Mayco® Jungle Gems™ Glaze, Blue Caprice
Mayco® Stroke & Coat® Glaze Assortment A, Assorted Colors, Set of 12 Pints
Mayco® Stroke & Coat® Glaze Assortment B, Assorted Colors, Set of 12 Pints
Sax® Low Fire Moist Earthenware Clay, White, 50 Pounds
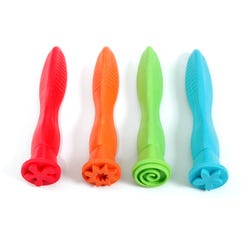
Ready2Learn™ Soft-Grip Pattern Stampers, Set of 4
Kemper Fettling Knife
Jack Richeson™ Pottery Cut-Off Needle, 53/8 Inches, Pack of 12
Creativity Street® Jumbo Natural Wood Crafts Sticks, Pack of 100
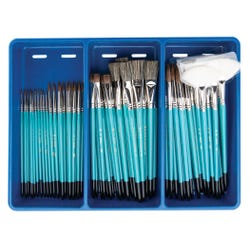
Royal & Langnickel® Ceramic Handle Paint Brush Classroom Pack, Assorted Size, Blue, Set of 72
Silver Creek Leather Alphabet and Number Punch Set
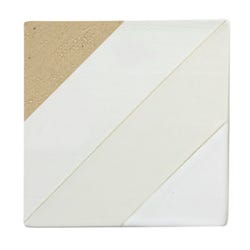
Fredrix® Genuine Primed Canvas Pads, 16 x 20 Inches, White, Pack of 10
Standards
Standard #1: Generate and conceptualize artistic ideas and work.
Standard #3: Define and complete artistic work.
Standard #5: Develop and refine artistic work for presentation.
Instructions
1
Weigh out a pound of clay (approx. size of a baseball).
2
Pinch off a piece of clay about the size of a small egg.
3
Roll this piece into a ball between your palms. Pat it or roll it into a flat disc about the size and thickness of a small pancake. Cut it into a nice circle.
4
Set it aside and cover with plastic. This is your cup’s base.
5
Pinch off and roll in your palms a larger ball, like a jumbo egg. This, you will pinch into your pot body.
6
Holding this ball of clay in one hand, carefully but firmly push the thumb of the other hand into the center of this ball. Push it deep and start turning the ball of clay in your other hand.
7
Now start pressing fingers against the outside of the ball as you turn it. Thumb presses on the inside of the ball with fingers pressing the outside.
8
Push thumb deep enough into the ball to deepen and enlarge the hole in the ball.
9
Continue pinching and turning the ball as you strive for even, thin, upwards walls. You want to pull with outside fingers upward and in to make a tall drinking cup, not a low (cereal) bowl.
10
When you have a big inside volume, and even walls, you may stop pinching. Be sure to fill any thin spots with clay.
11
When you have a big enough tall bowl, turn it over and gently tap the rim on the table to even out the rim.
12
Turn the pot over and gently tap the base on the table to flatten it out a bit.
13
This is the base. Take it now and set it into the center of the flat piece you rolled out in step 4.
14
Score and slip the bowl and center it on the base, press gently and make sure it is level.
15
With remaining clay, roll some coils the size (diameter) of a pencil. Score and slip the pinch pot rim and add the coils, gently pressing the coils together. Make the coils even by rolling with your palms, not your fingers.
16
When you have a taller pot and are happy with your work, turn it over onto its rim and tap it gently on the table to even out rim. (trim clay if needed).
17
Smooth rim, pinch bowl outsides and base. Texture outside by pressing stamps or other tools into outside pinch base. Have your fingers inside when you are using pressing tools.
18
Sign drinking cup bottom when you have it smoothed and cup is as nice as you can make it.
19
Dry cup and bisque fire to cone 04-1945 degrees F.
20
Glaze with Mayco Foundation Glazes on inside, (3 coats), and Mayco Jungle Gems Glazes (2 coats) on outside. Wipe glaze off bottom before glaze firing to cone 05-1888 degrees F.
21
Enjoy drinking out of your cup!