Close

Exaggerated Expressions
Lesson Plan, Grades 7-12, Art History, Social Studies, AMACO, 3-D, Ceramics & Sculptures, Multi-Cultural

Description
Lesson Plan and Artwork by Eric Orr
Masks have been used for centuries by many cultures for various celebrations and ritualistic purposes. This hands-on lesson offers the student an opportunity to take drawn faces (or self- portraits) into the 3rd Dimension with the construction of a life-size realistic or imaginary clay mask.
Objectives
- Study the history and purpose of mask making.
- Choose to create a self portrait or imaginary life size mask.
- Utilize a variety of ceramic techniques and processes.
Supplies Needed
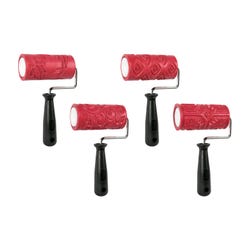
AMACO® Koi Fish, Vine/Leaf, Tribal, and Pre-Columbian Clay Roller, Set of 4
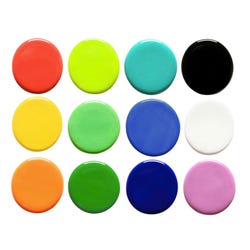
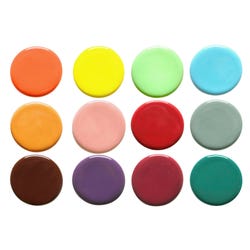
AMACO® Teacher’s Palette® Glazes Class Pack 3, Assorted Colors, Set of 12 Pints
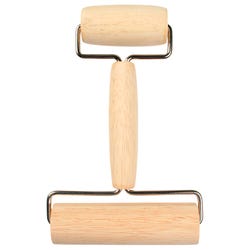
AMACO® Hardwood Pony Roller
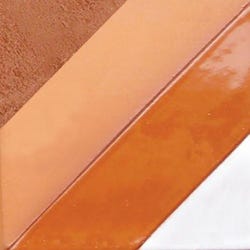
AMACO® Sedona Red 67 Low Fire Earthenware Clay, 50 lbs
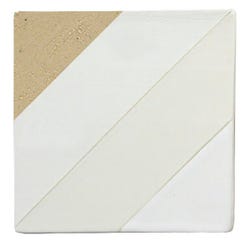
AMACO® White 25 Low Fire Earthenware Clay, 25 lbs
AMACO® Teacher’s Palette Glazes Class Pack 5, Assorted Colors, Set of 12 Pints
Fredrix® Genuine Primed Canvas Pad, 16 x 20 Inches, White, Pack of 10
Sunbeam® Non-Stick Rolling Pin, 18 Inches, Hardwood Handle, Black
Kemper Fettling Knife, Hard Blade
Jack Richeson™ Boxwood Modeling Tools, Set of 10
Jack Richeson™ Potter’s Cut Off Needles, Pack of 12
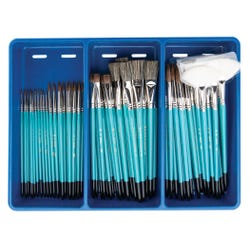
Royal & Langnickel® Ceramic Brush Classroom Set, 72 Brushes
Standards
Standard #2: Organize and develop artistic ideas and work.
Standard #3: Define and complete artistic work.
Standard #5: Develop and refine artistic work for presentation.
Instructions
1
Draw out your mask on paper. It may be a self-portrait mask (use a mirror) or imaginary. What about combining a human and animal face?
2
Weigh 2 to 3 lbs. of AMACO Sedona Red 67 clay, wedge it and roll to 3/8 to 1/2 inch thick.
3
Texture the slab with AMACO Texture rollers if desired.
4
Lay out the features of your mask with a pencil or pin tool.
5
Add clay (score and slip) to areas you want to build up (convex) like eyebrows, cheeks, nose, lips, chin etc.
6
Subtract with a loop tool the areas you want to be concave, (eye sockets, mouth etc.)
7
Place your clay mask over pieces of crumpled newspaper to help it become more 3 dimensional.
8
Use small amounts of clay to add features such as ears and lips.
9
After lips and mouth are formed, use white clay to create realistic teeth and eyes. Spread lips apart and cut a horizontal slit through mask for inserting the white teeth you create. Put them in from the back of the mask.
10
Fashion the upper and lower eye lids, as well as eyebrows. Cut a horizontal slit in each eye socket, roll a ball for the eyes, and insert the white eye balls from the back of the mask.
11
The end of a marker cap makes a nice round iris shape. Put a hole in the center for the pupil.
12
The nose is a long triangle starting between the eyebrows. Don’t forget nostrils!
13
When your face is finished and details are smoothed, turn mask over onto a towel so as not to crush features. To create a hanger, cut two rectangles of clay (score, slip and reinforce with small coils of clay). These go about eye height on each mask side and will serve as a way to hang the mask. Poke a hole into each rectangle with a drinking straw. These holes can later be strung with wire or cord after firing.
14
Poke holes into mask for later additions of hair, raffia, etc.
15
Bevel mask’s sharp edges, sign it on back and dry thoroughly.
16
Bisque fire to cone 04, 1945 degrees F.
17
Glaze mask with 2 to 3 coats of AMACO Mixable Teachers Palette glaze and re-fire to cone 05/06.
18
After firing, add hair and tie wire or cord on back for hanging.