Close

Celebrating Our Earth Patterns
Lesson Plan, Grades 6-12, Art, History, Math, Science, Roylco, Collage, Adapted
Description
Lesson Plan and Artwork by Sue Loesl
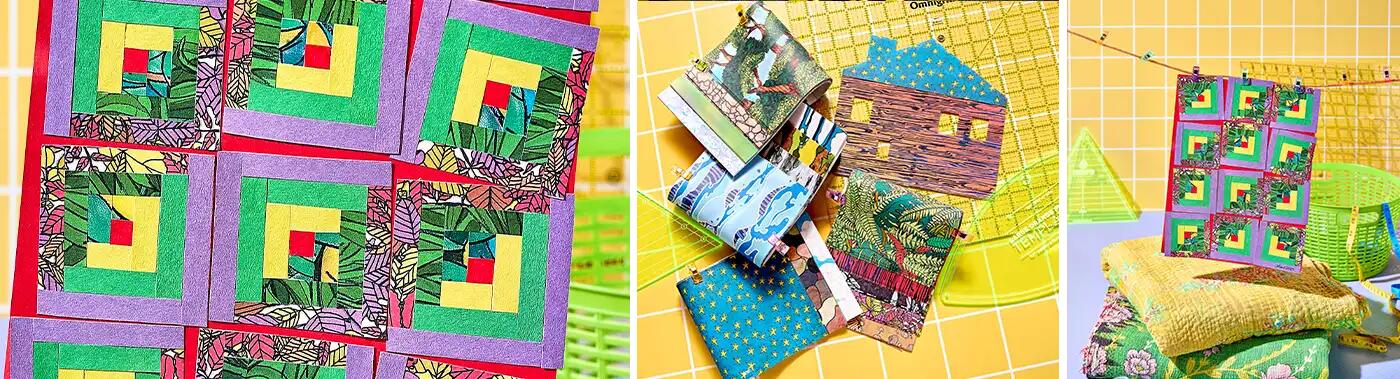
Our Earth has many landscape features, from sea to sky and all in between. Using the images of various landscape features and the historical quilt pattern of the Log Cabin, students can create their own unique quilt design pattern to celebrate Earth’s awesome and changing landscapes.
Objectives
- Become familiar with the various landscapes of our Earth.
- Explore the artistic form of the pattern of Log Cabin in quilting.
- Manipulate existing patterns to create new designs.
Supplies Needed
Roylco® Planet Earth Paper, 8 ½ x 5 ½”, 144 Sheets
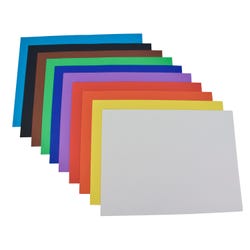
Sax® Colored Art Paper 12 x 18” Assorted Colors, 50 Sheets
Westcott® Finger Grip Ruler, 12”, Assorted Colors
X-ACTO® Artist Knife with Cap, No. 1, Aluminum Handle
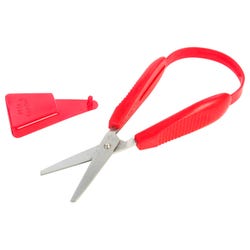
PETA Mini Easi-Grip Scissors, Stainless Steel Blade, Maroon/Red
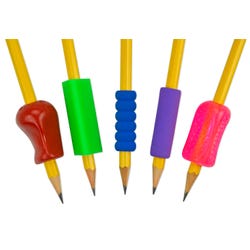
The Pencil Grip Inc Pliable Grips, Assorted Designs, Pack of 5
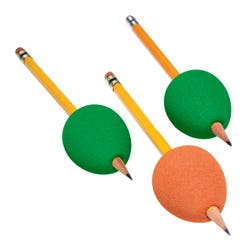
Abilitations® Egg Ohs! Handwriting Grips, Set of 3
PETA Mini Easi-Grip Scissors, Stainless Steel Blade, Maroon/Red
Elmer’s® Glue Stick Classroom Pack, 0.24 Oz, Disappearing Purple, Pack of 30
*Here are the supplies needed for this lesson plan for reference. Find a convenient carousel of shoppable products for this lesson below.
Standards
Standard #2: Organize and develop artistic ideas and work.
Standard #4: Analyze, interpret, and select artistic work for presentation.
Standard #11: Relate artistic ideas and works with societal, cultural and historical context to deepen understanding.
Instructions
1
Discuss the history of quilts in the U.S. Show examples of log cabin patterned quilts. The design of the log cabin pattern represents a fireplace as a source of warmth in a log cabin. It was also used as a symbol of a safe place during the time of the Underground Railroad. Because of the light and dark contrasts, this pattern offers opportunities for different creative designs.
2
Explore Roylco Planet Earth Patterned Papers, grouping the papers into various landscapes and Earth features such as rock formations, water, and leaves. Discuss how the Earth’s landscapes are changing with time, and that we should consider what we can do to save our landscapes for future generations.
3
Choose three different Earth Papers, considering a theme based on the groupings. Choose four different pieces of construction paper that complement the chosen Earth papers.
4
Precut the Earth and construction papers with a paper cutter into about eight, 3/8” long strips from each paper, or cut strips using a Wescott Fingertip Ruler and an X-ACTO blade on a cutting mat. Choose a center color and cut that strip into 14 square pieces.
5
Separate each group of strips and keep together. Line up all the piles next to each other, starting with the center color nearest to the artist, and alternate Earth and construction papers until all 7 piles are laid out. This is the order in which the strips will be used to make the quilt squares.
6
Prepare the 9”x12” mixed media paper as a base to organize the quilt squares. Using the ruler and a pencil with a Pencil Grip as needed, measure a grid pattern for twelve 3”x3” squares. Or, cut one 3”x3” square from cardboard and trace around it on the paper. Measure and mark the center of each square with the pencil and, using a purple glue stick, glue the center color on all the center marks in the drawn squares.
7
Prepare a single quilt square to experiment with the strip order and process of making the quilt square. Glue the square in the middle. Cut the first Earth paper next to the center square with scissors into at least 14 squares. and glue a square next to the center square on the right side. Next, place a glue line above and the same length of the two squares. Take a piece of the first Earth paper and evenly lay the Earth paper next to the two squares, starting next to the Earth paper square and extending past the center square. Cut it off with the blade or scissors when edges line up. This creates an “L” shape that will be continued when creating the log cabin pattern. Place that piece of Earth paper back on its pile.
8
Take the next strip of paper, the construction paper, and place it perpendicular to this last Earth paper edge. Lining up the two edges, glue this new strip along the edge of the center and the Earth paper and cut where the center color ends. Take the rest of this construction paper strip and turn it perpendicular to the last piece, and lay it on next to the three papers, forming a new “L” shape. Match the end of the strip, glue down, cutting when it meets the end.
9
The next strip is an Earth paper. Repeat creating the “L” shape with this Earth paper strip around the developing quilt square, and alternate construction paper and Earth paper until all seven of the strip papers are used and the square is complete.
10
Determine if any changes in the paper strip order are needed before making the quilt squares on the prepared mixed media paper. Make another sample if desired.
11
Start creating the quilt squares on the prepared mixed media paper, one square at a time until all 12 squares are complete. For some, limiting the total number of quilt squares to 4-6 may work best.
12
Once all the quilt squares are completed, cut the squares apart with a paper cutter or other cutting tools. Quilt squares should be exactly the same size, about 3”. It is OK if the outer Earth and construction papers becomes narrower to reach even squares.
13
Manipulate the quilt squares into as many different patterns as possible, noting how the patterns within the Earth and the construction papers change and create new patterns within the designs.
14
When the students find a pleasing design, instruct them to glue their quilt squares traditionally or creatively onto a colored construction paper background that enhances their design.